HowTo: Windows Vista & Win7 OpenVPN Setup Tutorial
Last updated on August 8th, 2017 in Setup
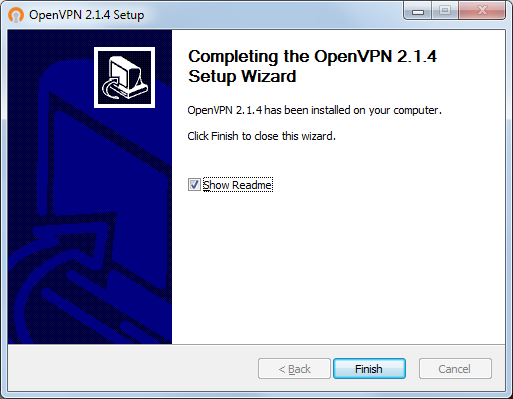
1. Download OpenVPN from OpenVPN download page (openvpn-2.2.2-install.exe) and install.
Note that this tutorial was made for OpenVPN 2.1.4 version but it should be the same as for old/new one.
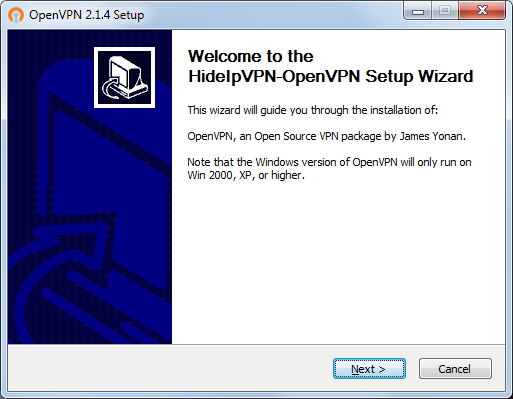
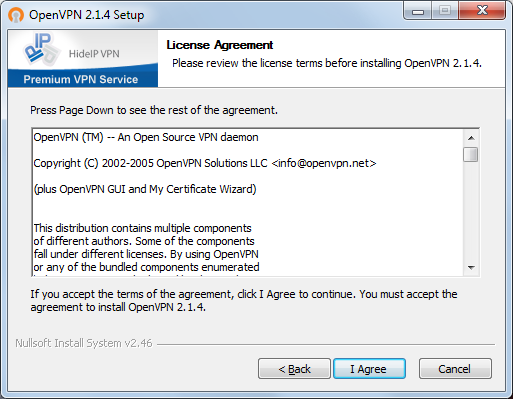
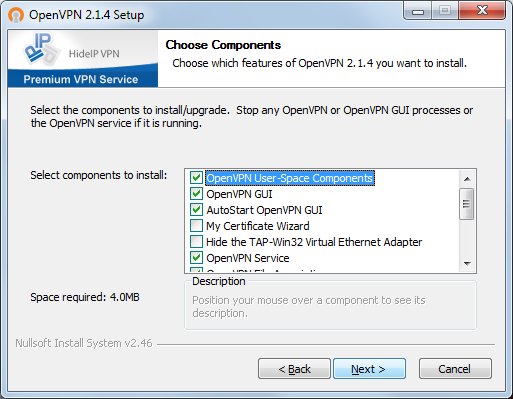
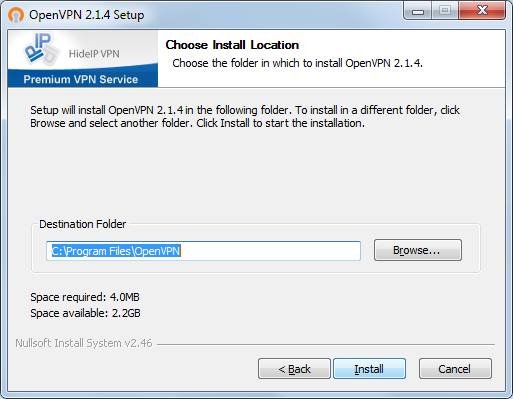
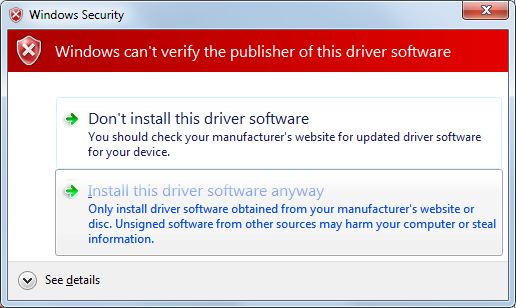
Press then install. If the following window is shown select Install this driver software anyway.
2. Download OpenVPN config files select OpenVPN config files according to your package.
3. Unzip OpenVPN configuration and copy to C:\Program Files\OpenVPN\config folder.
After you’ll extract configuration files you’ll find hideipvpn-password.txt file, edit with notepad and replace username and password words with your VPN username and password.
4. Set OpenVPN Gui to run as Administrator
Go to the desktop OpenVPN icon and right-click on it.

You’ll see a dialog with a check box for Run as administrator.
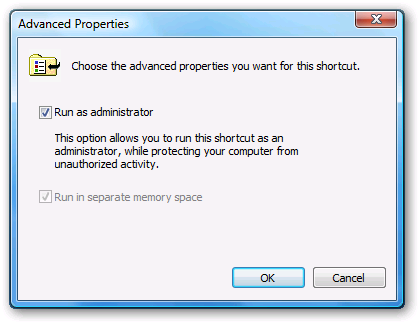
From now on, OpenVPN Gui will always run as administrator if you use the shortcut to launch it. (You’ll be prompted by UAC if you have it enabled).
Now, in the toolbar, you should see a symbol for OpenVPN (two red screens). Right click on the symbol with the mouse, choose server you want to connect and click Connect.
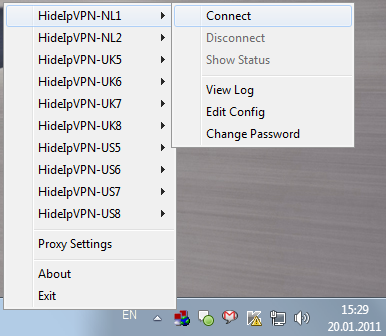
If you run OpenVPN with no password save then you’ll be asked to enter your VPN username and password.
A successful VPN connection will be shown above the OpenVPN symbol. During a connection, the two little screens will be green.
Vista Problems
Different versions of Vista sometimes behave differently and, with the installation of updates, sometimes change. In some cases, OpenVPN works fine for a while and then stops working due to a change in Vista. In cases where right clicking does not solve the issue, you can set the UAC to allow software to run as administrator by default.
Disconnect
To disconnect, just right click on the OpenVPN server you where connected and select Disconnect.